Along with learning coiling techniques we have also looked at pinch pots – these can be quite simple and quick, so I’ve found them really fun. After doing the basic form activities (one shallow, one deep, one round and one big) I’ve played around a bit with some different shapes and embellishments.
Pinching seems to not be as popular as other techniques, but I have found a few artists who have turned the humble pinch pot into something beautiful.


In both these works I really love the use of the bright interior glaze contrasting with the plain white exterior. They both remind me of sea shells or sea creatures, with the glossy smooth interior.

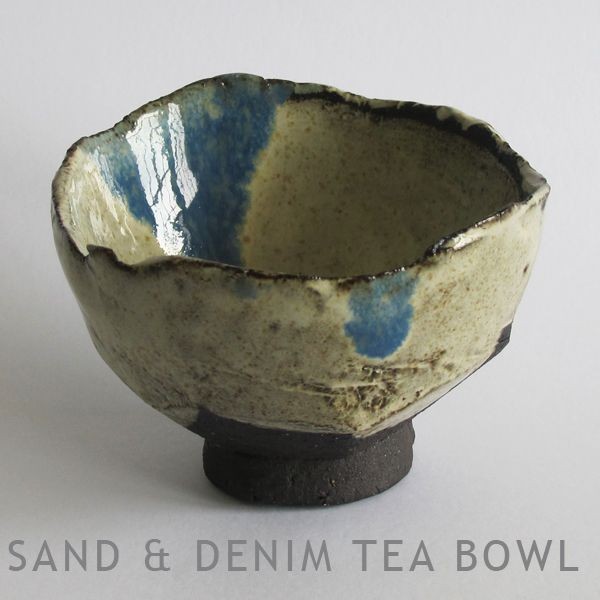
The little feet on these seem to make them a little more special, although the form is still simple the feet, along with the textured surface make these a more interesting piece. The shino glaze also contrasts really nicely with the red clay.
I have been spending a lot of time carefully trying to perfect the rims on my little pinch pots – but looking at this work I don’t think it is at all necessary.
Okay, on to my own experiments!

This is my shallow pinch pot, which was screaming for a nice centered decoration. I tried a bit of sgraffito with a pre-mixed underglaze – unfortunately the clay was a bit too dry so the lines aren’t as sharp as I would like, but I am interested to see how it looks once fired. I’d like to experiment a bit more with this technique, just have to work on my timing.

Just a whole bunch of little pinch pots! These will be for testing different found materials, and also for some glaze ingredient testing.

On this larger pinch pot I added a little foot (basically just a single coil on the base) and started working on some 3 dimensional decoration. These are pretty firmly attached but we will see how they fire. Can’t wait to start testing some glazes out on what I’ve made so far!

This is cool watching your ideas develop and the research involved. It’s fun being an armchair participant in the process. Thanks for sharing 😊
LikeLike