Back for another year of playing with clay! My first chunk of work is all going to be experimental – playing with form, surface, finishing etc. Trying to be a bit looser with my planning, here are some workbook drawings for a couple of things to make in clay.
Playing with the chain form I did a lot of last year, trying to push the form in different directions.
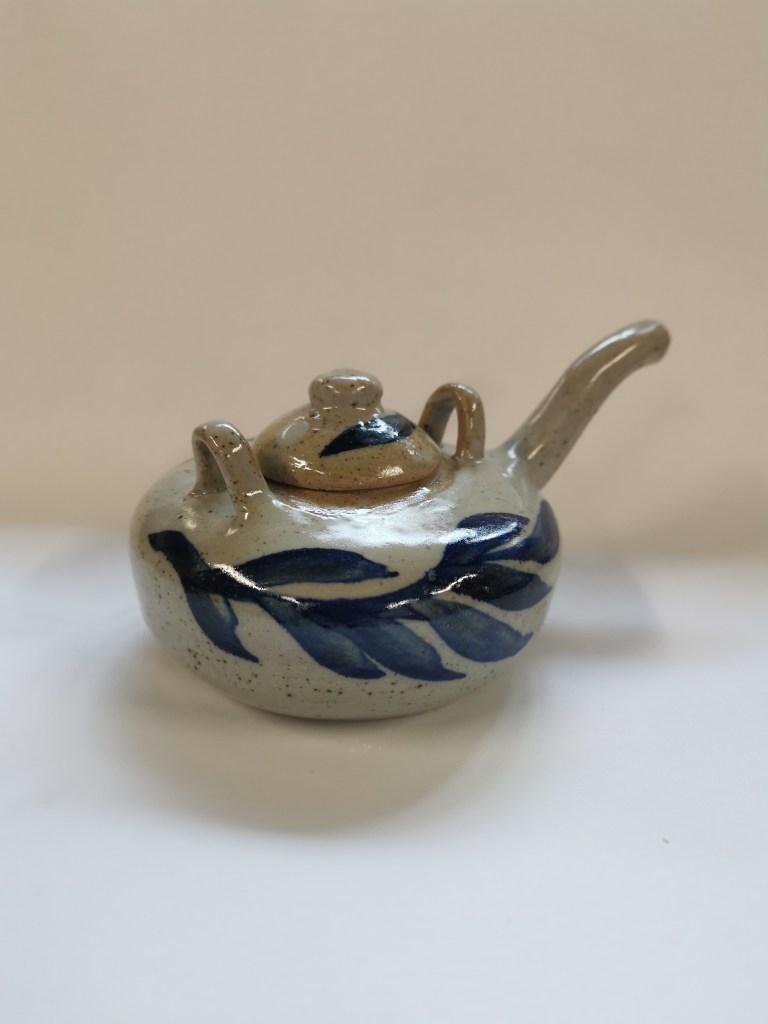
Almost finished! Here’s a few elements for my final presentation.. I’ve used a few different techniques we’ve learned over the year. Some pieces are thrown, and have hand built elements, some coil and some pinched/sculpted pieces.
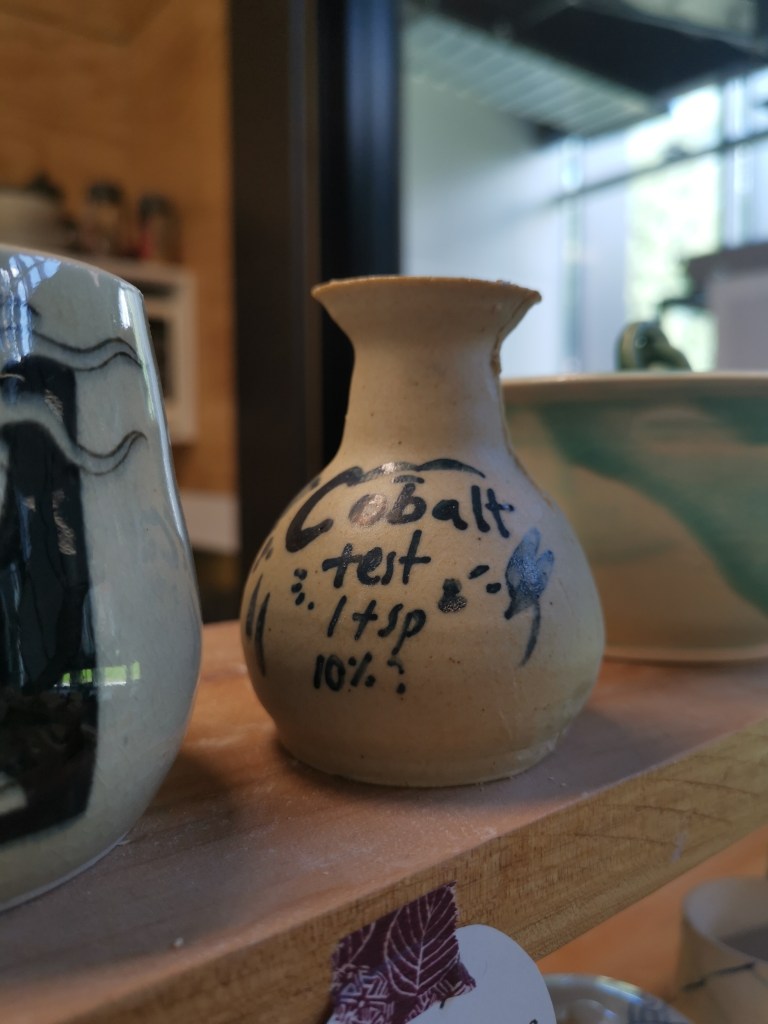
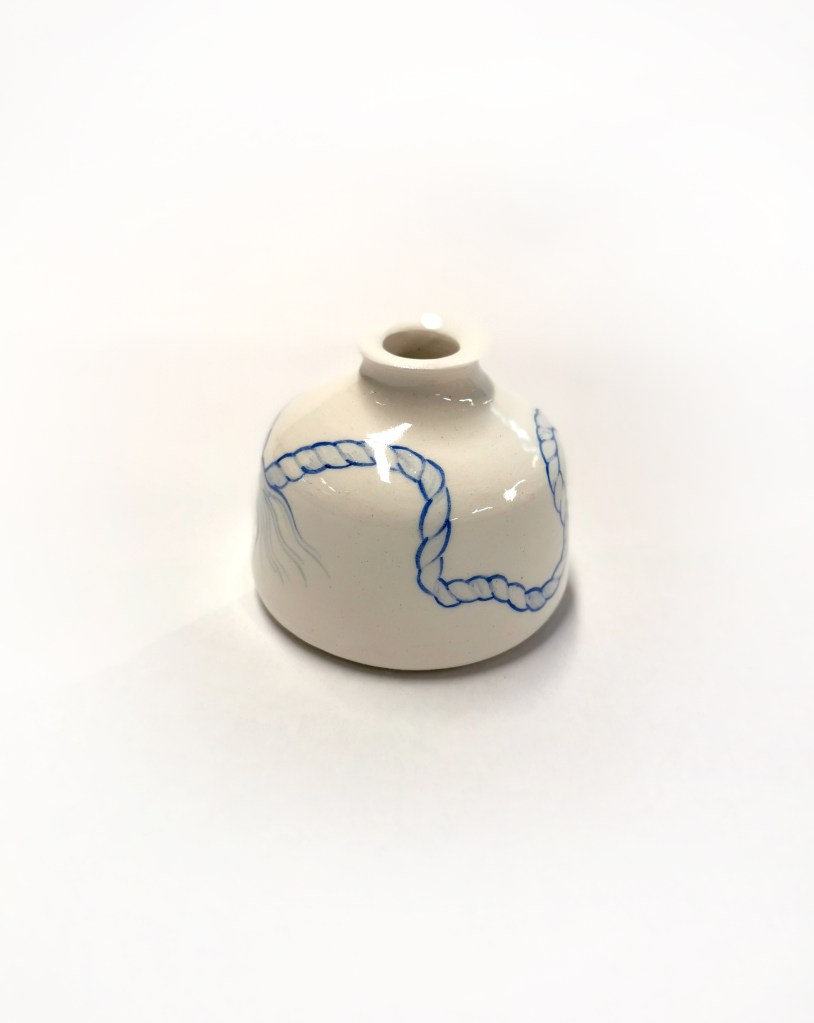
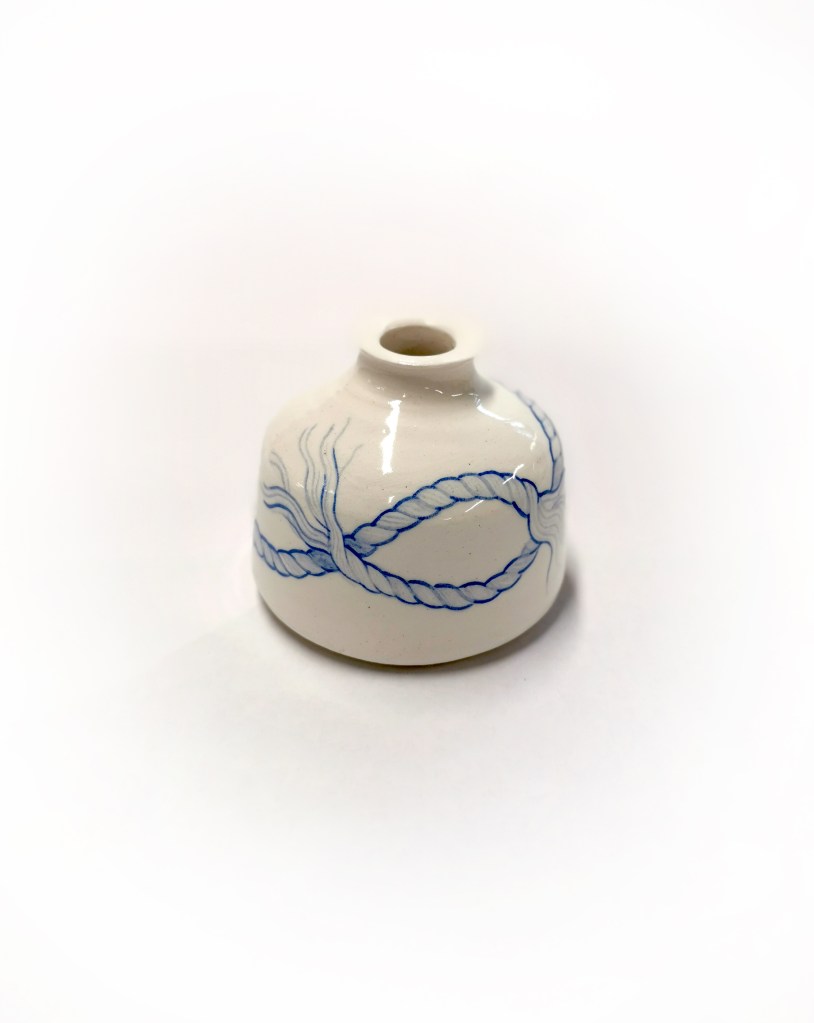
Neil kindly showed us his techniques for brushwork earlier in the year, and I finally got around to giving it a go. Cobalt wash on Neil’s smooth glaze, fired to cone 10.
Got to sneak into the print making department and learn how to make a screen for printing! So much fun. The actual printing on clay was a bit trickier, but happy with my results. As it’s so close to the end of the year I haven’t been able to experiment as much as I would like to, but managed to squeeze in a couple of platters between working on my final project.
Some drawings copied onto myler for transfer
Stapling some recycled mesh fabric onto an old picture from, to use as a screen.
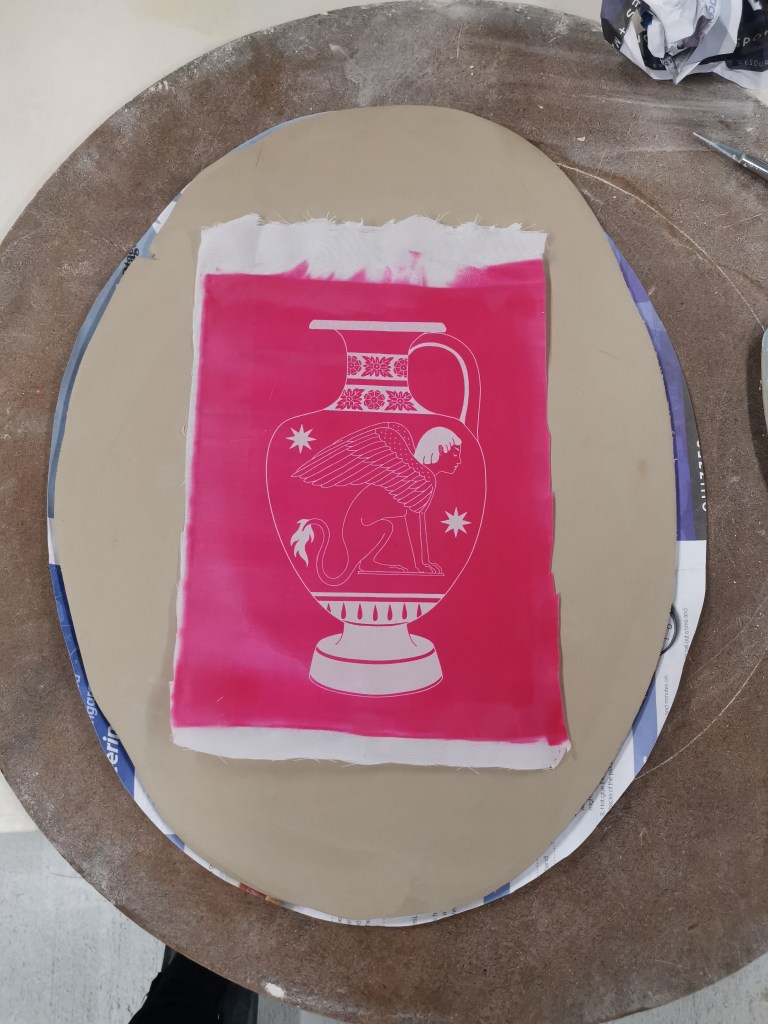
Coated with photosensitive emulsion (the pink stuff!) and exposed under a mega strong UV light for 1.5 minutes
Second screen!
Screen is cut off the frame and smoothed out on moist clay slab
Printed with a thick underglaze, a few wee smudges and missing spots. Put it in a slump mould to form a big platter.
Tidied up a few lines and did another coat on the solid areas.
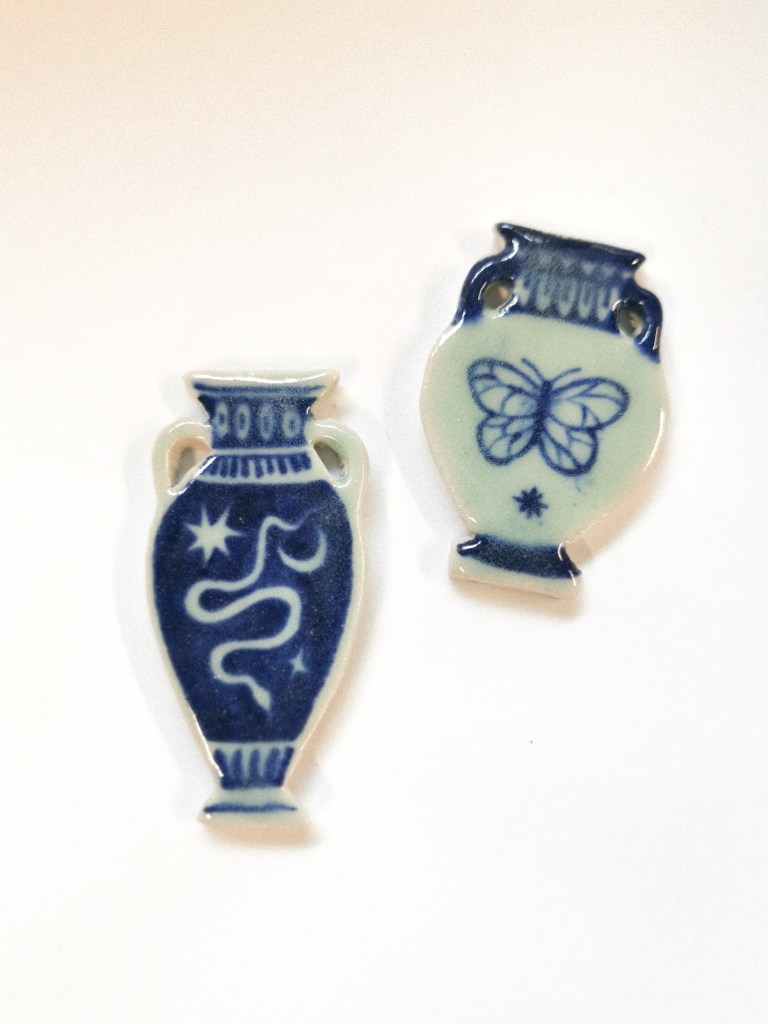
Glazed and fired! I used a celadon at cone 10, so it’s not perfectly clear. I also applied the glaze a bit too thickly which does mask the print a bit. I think with a few more trials I can get some better results, but will have to wait till next year!
Learning to attach slab pieces was really fun, although I struggled a bit over working things.
This was a simple box – covered in cream slip and then scraffito’d over the top. I wish I’d used a darker clay, and the design became quite subtle once fired.
Two little decorated pyramids. It was tricky getting a sharp point, but otherwise I am quite happy with them.
I was pretty ambitious with this – I spent a lot of time doing careful calculations, but it proved much more complicated when made with clay rather than paper. My initial lid completely collapsed so I made a flat lid, but by then the body had dried so getting the fit was very difficult.
Unfortunately cracks appeared in the firing, I over worked the seams a bit and the started splitting… I still like the piece, and definitely learned lots while constructing it. I’d like to try remaking it at some point, now that I’ve done some problem solving with slab construction.
A few weeks ago we were lucky enough to visit the anatomy museum to do some drawing. I felt a little bit uncomfortable, but did a couple of sketches from a plasticized hand (yes.. A real human hand..) great practice for study, hopefully will get to go back again sometime and sit for a bit longer.
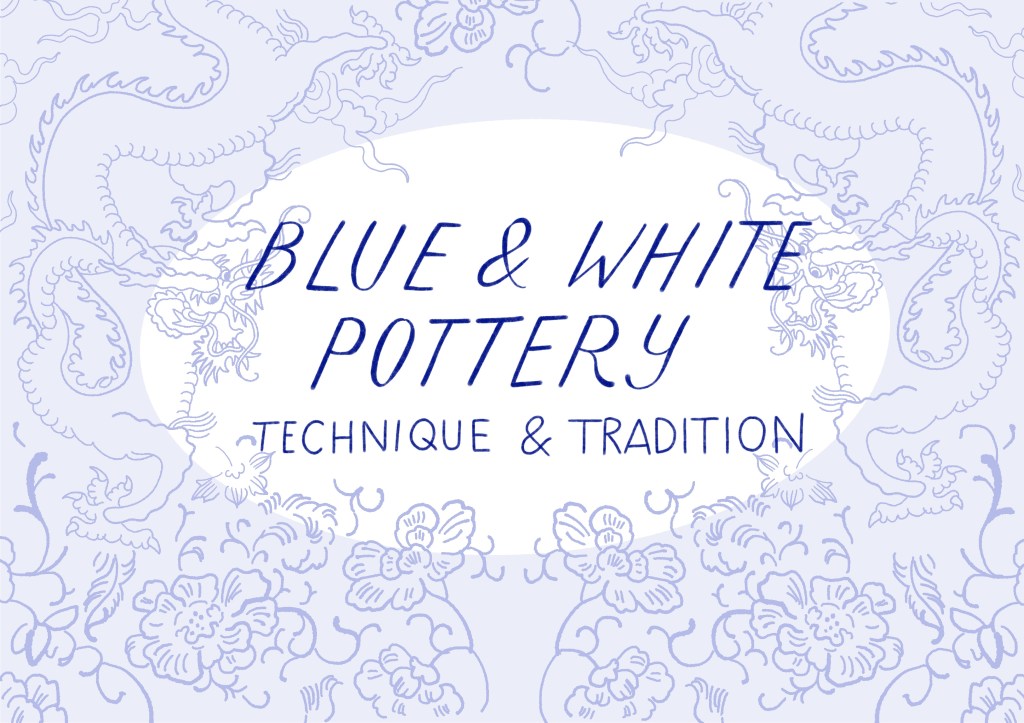
So I won’t be sharing my full Pecha Kucha presentation on here – I dislike my voice too much for that! But I did spend an unnecessary amount of time drawing up a title page, another of my classic procrastination techniques! The patterns are based on designs from a Ming vase and a Deltware plate.
Just a simple little ink bottle in white clay. I have been watching a lot of mudlarking videos and this shape seems to pop up a lot! often glass, but older ink bottles were made of ceramic. I haven’t made a stopper for this one, but have for some later ones.