Paper clay trial and re-fired vases

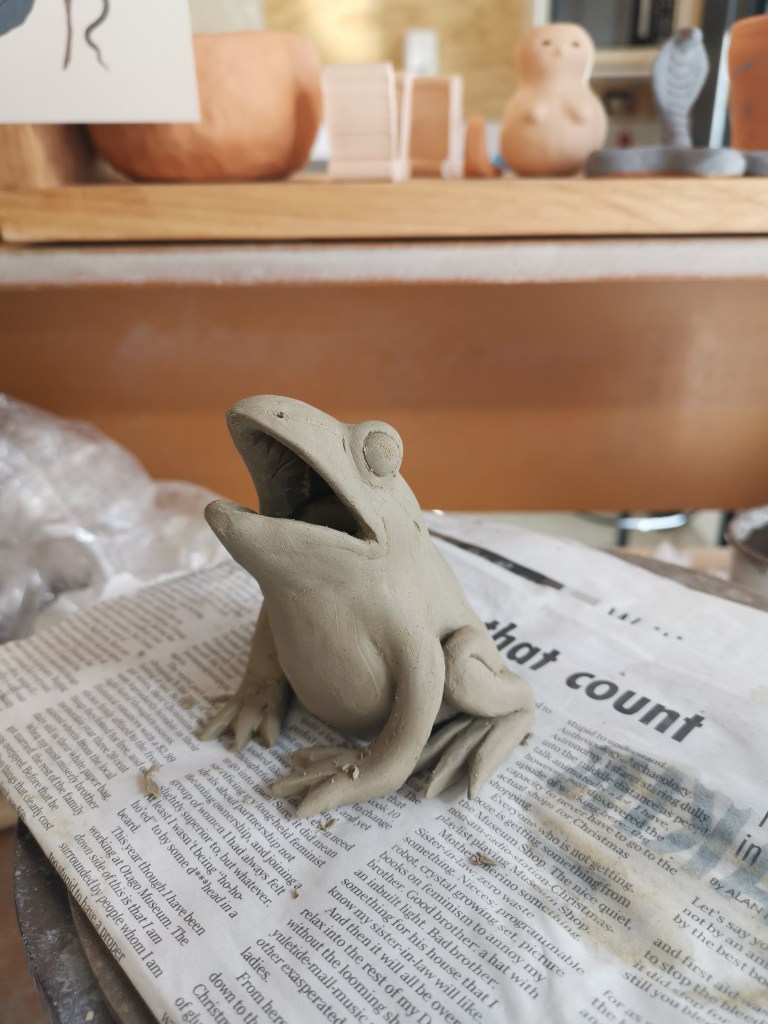
This was my first go at paper clay, I don’t know how successful it was but I’d like to try again, maybe back at school when we have access to equipment.

I started with a big bowl of ripped up toilet paper!

Added water and started mixing with a hand beater… This didn’t go so well, so transferred it to a food processor which got it nice and smooth.

Used an old potato masher to smash it together with wet clay. I had aimed for 30% but I think it was actually about 50… May have been a bit too much paper pulp.

Handy egg beater to get it nice and smooth!

I don’t have any plaster at home so I laid it out like icing on a sheet on card. After it set a little bit I transferred it to an old towel, it took a very long time to dry enough to use, although once I added the towel it moved along a lot quicker. I also hung up a cheese cloth sack of the remainder, which is very nearly ready to use.

For a first go though I wanted to try and make a tall slabwork jug. All the slabwork I’ve done with regular clay, I’ve struggled to get much height before the clay would collapse on itself a bit.

I found the welding of seams a bit harder with this clay, which is why I suspect I put too much paper pulp in. However it was so easy to bend and form, and held its shape amazingly well. Once this dries I will clean it up a bit, and maybe do some elaborate under glazing as it’s such a nice large surface to paint on!

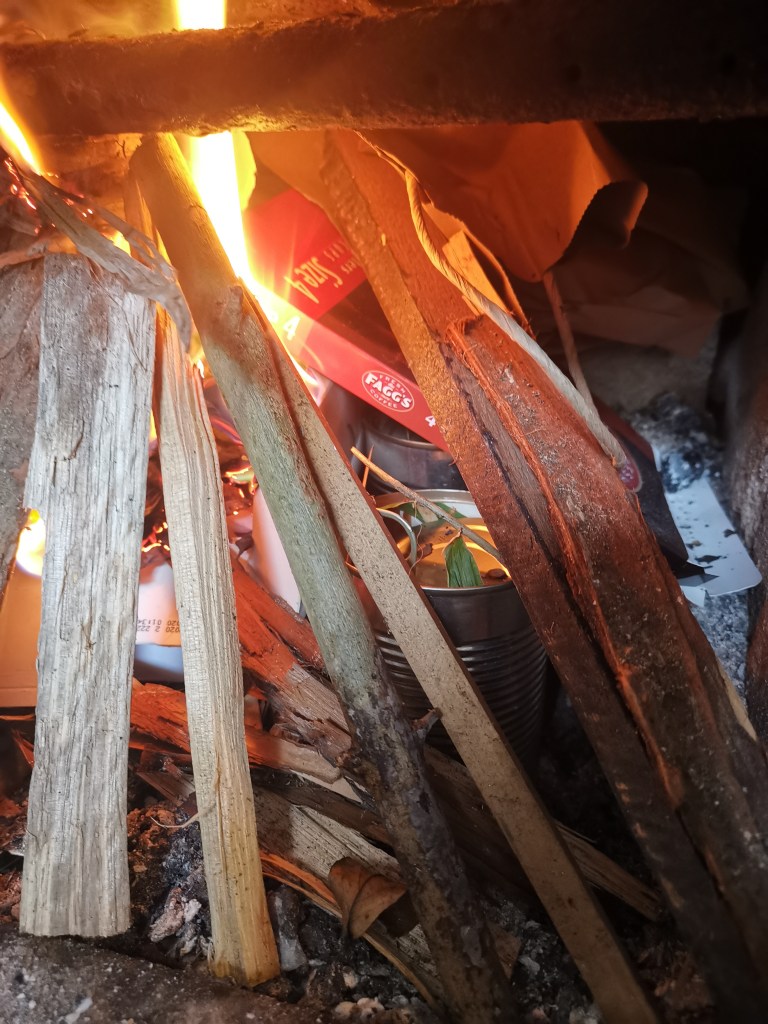
Popped these little vases back in the fire – in open cans this time, no sawdust, just banana peels and salt. Burned off a lot of the carbon and got some cool oranges and splotches, especially on the little face vase!

At home pit fire

This was a really fun experiment – it’s nice to be able to finish a piece outside of school.

Knowing the size limitations of my fireplace I made a bunch of fun little vases of different shapes. I gave a few some wee faces, just for my own entertainment.

Little vessels!

After letting these dry in the studio over night, I popped them in my domestic oven at 100 degrees for about 3 hours. I was worried about them exploding in the fire (which has happened to me before) so maybe left them in there longer than actually needed.

Forgot to take a photo of this next step, but I wrapped them in corn husks, banana peel and sea salt, then wrapped that in a tinfoil saggar. Then I popped this into an old tin can filled with wood chips and sawdust, then into the unlit fire.

Then I let it burn all day!

A lot of black, which I think was due to the sawdust, but some cool little swirls and a few orangey blobs! I will refire these I think, with just banana peels and salt, and see if I can get some of the carbon to burn off. Also will try burnishing a couple of the other pieces and get them fired too, next time it’s cold enough for a fire!

Coiling extension projects

I have been playing around a bit with coiling, and have a few plans for a larger project. I made a small maquette of something I would like to try, this really helped me see any weaknesses in the design, and to picture it as a 3 dimensional object.

Simple cobra, underglaze is black.

So, starting on the big piece! I ended up coiling this in a slightly different way than I had first intended, so the whole thing is still hollow but the underside is open – I think this will work out better for firing and durability.

Body is mostly done, under plastic, I made the head separately and then attached.
Head is on! A bit scary but seems sturdy enough
Basic form is done! Added a sponge and some paper as support while it dried but no cracks or anything.
From above. You can see that the snakes body is joined in several placed to make the whole piece stronger and more stable.
This was my layout plan for the body, with the maquette for scale!

I made quite a few glaze recipes up to test, sadly none of them were fired before school had to close, so they are waiting till we are allowed back. The cobra is also waiting to be bisqued, I was going to bring it home to underglaze but as its quite large I didn’t want to risk damaging it by carting it around.

Another little piece I made for fun (also coiled). This frog is hollow all the way through, so there is a little plate you place an incense cone on, then place the frog over the top. If it works the smoke will come out its nose and mouth – a little bit twee but I really wanted to test the idea of including smoke in a piece, and by using incense it becomes a usable object rather than just a sculpture.

Coiling exercises & experimentation

When I started these exercises I wasn’t particularly excited about coiling, I couldn’t get my first couple of eggs shaped in the way I wanted, and smoothing them out seemed like such a chore. However by the 3rd egg I started to get the hang of it, and by the last one I was able to push the clay in the ways I was hoping. You can see the huge improvement from egg 3 to egg 5! Which is really encouraging for me to see.

Egg 3, egg 4, egg 5.

This week I’ve started playing around with my own ideas, applying what I learned while doing the exercises. Around 4 hours into this coiled dog mouth vase, still some more to do and definitely not as refined as I’d like but enjoying the process.

Nothing much to see at this point,
Two ugly sausages
A bbit of canine dental work
Smoothing tthings out
The schnoz

Tomorrow I will hopefully start adding some texture and possibly some underglaze, unsure about finish at the moment but will start researching some potential glazes.

Pinch pots

Along with learning coiling techniques we have also looked at pinch pots – these can be quite simple and quick, so I’ve found them really fun. After doing the basic form activities (one shallow, one deep, one round and one big) I’ve played around a bit with some different shapes and embellishments.

Pinching seems to not be as popular as other techniques, but I have found a few artists who have turned the humble pinch pot into something beautiful.

Alasdar Nelson
Heather Knight

In both these works I really love the use of the bright interior glaze contrasting with the plain white exterior. They both remind me of sea shells or sea creatures, with the glossy smooth interior.

@clay.therapy

The little feet on these seem to make them a little more special, although the form is still simple the feet, along with the textured surface make these a more interesting piece. The shino glaze also contrasts really nicely with the red clay.

Clementina van der Walt

I have been spending a lot of time carefully trying to perfect the rims on my little pinch pots – but looking at this work I don’t think it is at all necessary.

Okay, on to my own experiments!

This is my shallow pinch pot, which was screaming for a nice centered decoration. I tried a bit of sgraffito with a pre-mixed underglaze – unfortunately the clay was a bit too dry so the lines aren’t as sharp as I would like, but I am interested to see how it looks once fired. I’d like to experiment a bit more with this technique, just have to work on my timing.

Just a whole bunch of little pinch pots! These will be for testing different found materials, and also for some glaze ingredient testing.

On this larger pinch pot I added a little foot (basically just a single coil on the base) and started working on some 3 dimensional decoration. These are pretty firmly attached but we will see how they fire. Can’t wait to start testing some glazes out on what I’ve made so far!

Jomon Pottery

This week we were introduced to pinching and coiling. I’ve done a few pinch pots before, but never tried coiling. As inspiration we looked at some pottery from the Jomon period. Something that struck me was that it looks so much like the Sheikah technology in the latest Zelda game. I’ve since looked it up and it was deliberate – the games designers referenced it throughout the unique world building.

So after looking at all these lovely pots I made a start on my own.. Coiling is definitely not easy, and very time consuming!

This is as far as I got on the first day. I wanted to let it dry a bit before starting the decoration as I was a bit ambitious with the flare on the top and was getting worried it was going to collapse.

Beginnings of some coil decoration
Coil decoration finished, plus some rope indentations on the side

My outer coils could definitely have been neater and more consistent, but overall I’m pretty happy with the design. Mostly happy it didn’t collapse! I’m not completely sure the little handles/ears will hold up to being pit-fired but fingers crossed it comes out OK. I might even try and make another smaller piece before firing, to see if I can get the coils a bit more even.

Design a site like this with WordPress.com
Get started